
Home • Free Resources • Support and Resistance
Support and Resistance
Where an entry or exit actually has an edge, and why levels work better read as zones than exact lines.
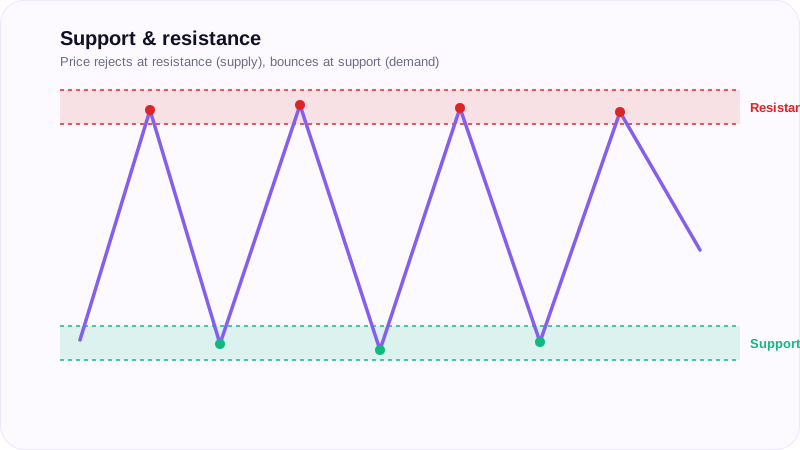
Support and resistance are the most widely used price-action tools for gauging where an entry or exit has an edge. Support is a price area acting as demand, when price falls into it, buyers tend to step in, giving price a chance to recover upward. Resistance is the mirror image, a price area acting as supply, where reduced demand at the higher price tends to reject price back down.
Why these levels work
Support and resistance levels are easy to spot on a chart, and that visibility is part of why they hold. Enough traders react to the same zones that the reaction becomes self-fulfilling, a cluster of buy or sell orders concentrated at a level moves price the same way any other concentration of supply or demand does.
Treat levels as zones, not lines
Price rarely reverses at an exact price point. Support and resistance are more reliably read as zones, a band of prices where reaction is likely, rather than a single precise line. Traders who insist on exact-level reactions tend to get stopped out by the normal noise around a zone.
Not a standalone signal
Support and resistance is not 100% reliable on its own. Pairing it with other confirmation, trend direction, momentum, volume, and disciplined risk management materially improves its reliability as a trading input.
Related concepts
Trendlines apply the same demand/supply logic diagonally rather than horizontally. Breakout trading covers what happens when a support or resistance level fails to hold. Chart patterns such as head and shoulders depend on a shared support level forming under both shoulders.
Key takeaways
- Support is a demand zone where buyers tend to step in; resistance is a supply zone where sellers tend to step in.
- These levels work partly because they are visible, shared trader attention makes the reaction self-fulfilling.
- Read support and resistance as zones, not exact lines.
- Combine the tool with trend, momentum, or volume confirmation rather than trading it in isolation.